And yet if they could cram all that stuff into one easy-to-use place, I think it would sell like gangbusters, because a big percentage of gamers today don't have the time or the energy for a fetishistically detailed system like Classic BattleTech. But if you told them "hey, you can run a two or three lance (eg, 8-12 mech) game in two hours or less with these rules" I really do think they'd be a big hit. There's sort of a hex-based version of the rules in the starter box, which is a step in the right direction, but I'd be happy to buy a stand-alone product with these rules laid out in a neat, logical fashion.
So the reason I'm talking about this, is that my friend Britt is organizing a sort of campaign/league hybrid thing this summer, with six of us sort of loosely running the War of 3039, a canonical conflict just before the Clans showed up and ruined the storyline. Two of us, namely Darren and myself, met up at Hypermind in Burlington to play a little mindless 'kill em all' skirmish with the rules to get familiar with them. I'd played them once a few months ago at a demo game and immediately fell in love, despite my really atrocious job of running the recon lance I got assigned. Darren is an old BattleTech hand, most recently having played a lot of the MechWarrior clicky iteration of the game. Both of us threw together 100 Build Value (which QS uses instead of the classic tonnage system) 2-lance forces and lined 'em up on a 3'x3' mini-table (due to the Saturday crowding at the store from all die Kartenspeiler).
There's really not much to say in terms of an after-action report; with no objectives other than KILL and only a smattering of terrain, we did what you'd expect and formed several of BattleTech's trademark "Conga Lines of Death*" through the eight turns of the game. We found a few things we need to check into (like how a critical hit on Weapons is supposed to interact with the mechs that have some of their weapons broken out into separate entries, rather than the consolidated rating for most other mechs), and we also found out that ammo explosion and headshot crits are still a Bad Thing. We also did some playing with the melee rules, particularly charges and the fan favorite Death From Above. Some of these worked better than others, and frustratingly they both referred to a table in some portion of the book about 200 pages away from the Quick Strike rules. Gaaahh....
I also found out that my iPhone has a really astoundingly wide range of picture quality; at some point I need to find my little point-and-shoot and start carrying it to these things because while the pics look ok on the small iPhone screen they look like trash on the monitor here. Rather than try to salvage them I'll just append them all to the end of this post for the truly dedicated reader (and later I may even go through and shop in some tags or at least colored circles to distinguish the two forces, since we were both running the classic urban camo pattern of 'not painted yet').
* the "Conga Line of Death" is when one mech can get in the rear 60 degrees of another for bonus damage; frequently once one mech does this, an opponent can then do so to them, and then someone can do it to that mech, etc.
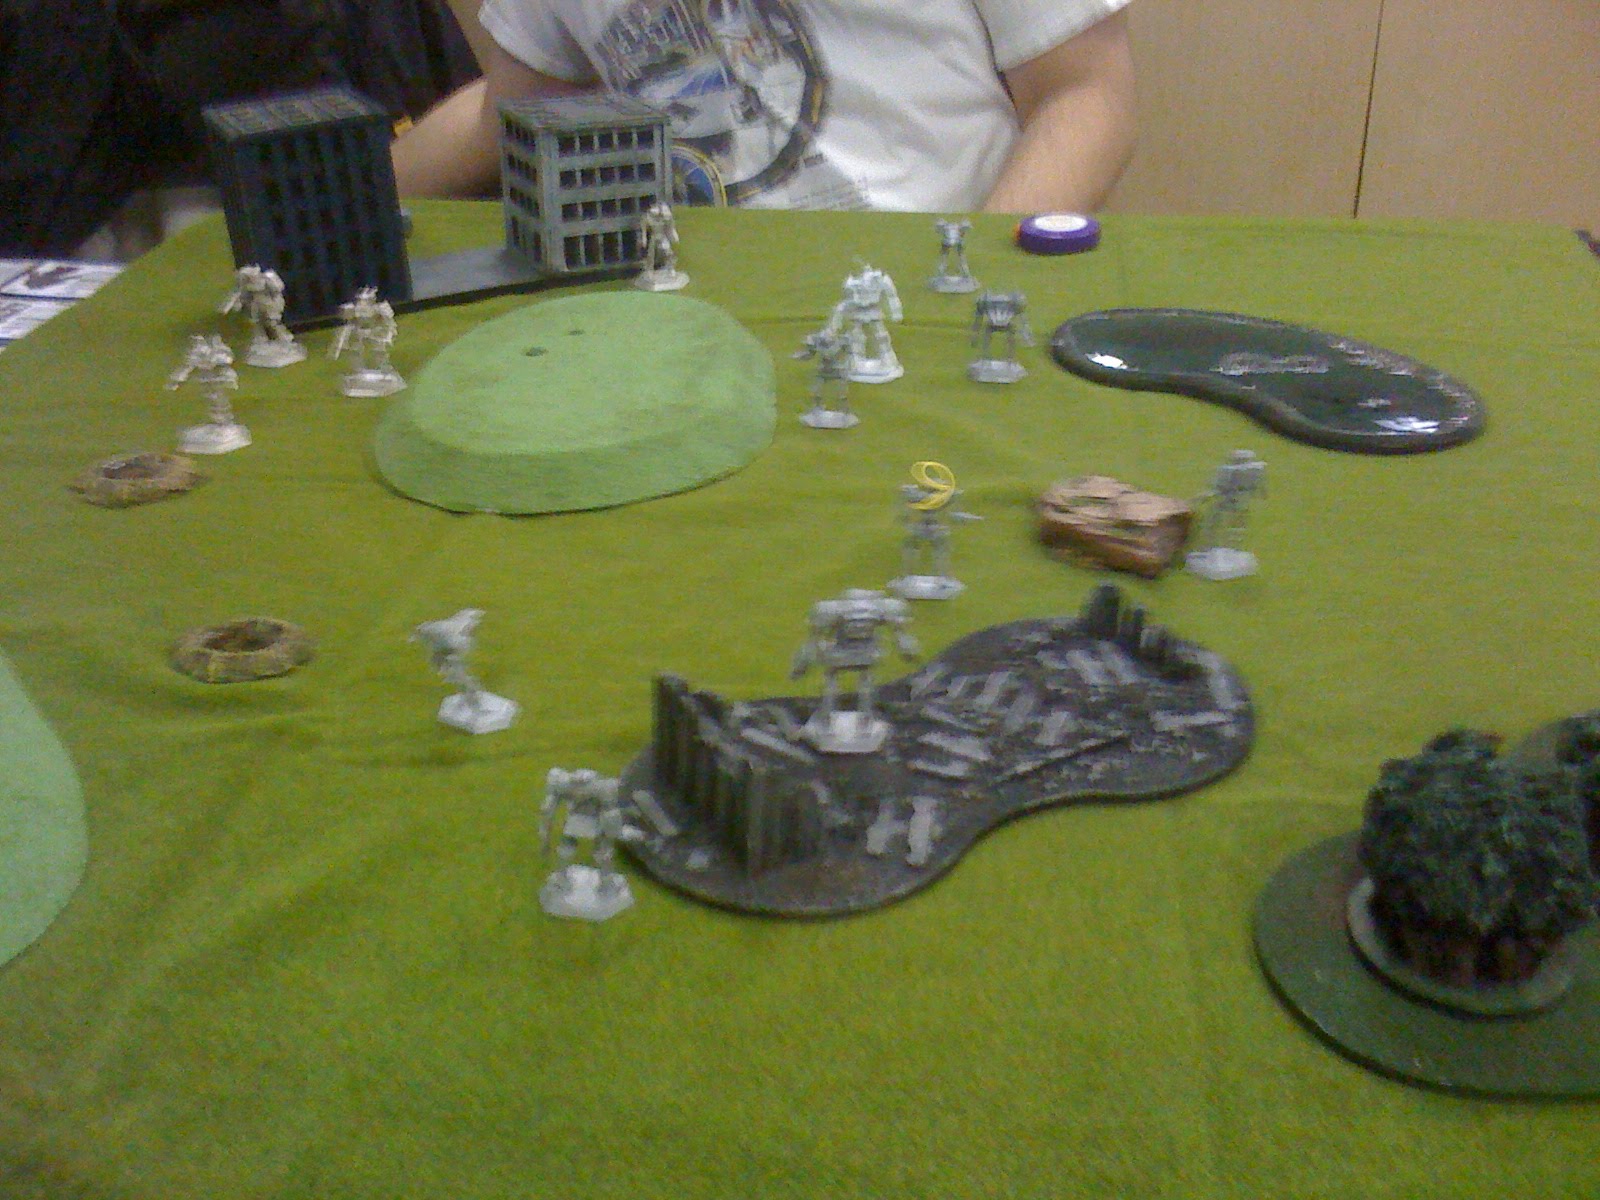 Turn 2. Offscreen to the left, around the back of the low hill whose edge is just visible, is my 'recon' lance. In this turn both of our Grasshoppers will absorb the majority of each others' successful fire.
 Turn 3. Conga lines already forming; also notice our two biggest mechs (my Atlas and Darren's BattleMaster) are bumping chests in the middle of the right-hand scrum. Our Grasshoppers (we both fielded them) have enterprisingly jumped in behind each other's big bruisers for some backstabbery fun.
 Round 4. By this point I'd gotten a very lucky ammo explosion result on Darren's BattleMaster. Our biggest Conga Line is formed here. Notice the yellow rubber bands used to differentiate my Dragon and Grasshopper from Darren's. A recurring question from onlookers (particularly onlookers under the age of 12) was 'how can you tell your robots apart?' O the shame of an unpainted army.
 Turn 5, I think? Maybe 6? The big Conga Line has dissolved, with both of us losing our Grasshoppers as well as some other stuff if memory serves. Notice that my Cicada, which we last saw getting mugged by Darren's Reseen Shadow Hawk at the corner of the hab-block, is now downscreen left on the low hill helping my Zeus pin his Griffin. I think I fell in love with that speedy little bastard at this point.
 By this time most of Darren's mechs were pretty beat up. I'd been fortunate in my dicing, and he was less so. He'd scrubbed all the armor off my Atlas by now, so I was moving at 3" per turn, shooting at -2 to damage, and was just waiting for another crit to finish the poor thing off. I'd also had a minor brain hemorrhage at this point apparently, and not only did I give him a key shot at the back of my Banshee, I'd also left it with no targets whatsoever, which is really dumb since by this time I'd realized it was better as a melee attacker than using its weapons. Dumb.
 The valiant end of Darren's lone surviving Shadow Hawk, who died with appropriately Kuritan honor by killing my one-point-of-structure-left Atlas just as the Hawk fell under the Atlas's mighty fist. Worse was that I'd forgotten that due to multiple 'Weapons Hit' criticals Darren's Hawk could only attack in melee, so handing him my 19BV Atlas was another genius move on my part. Clear moral victory for Darren, if you ask me.
Nice AAR.
ReplyDeleteNow let's see some painted mechs!!!! (Inspirational statement)
I'm actually gluing up the rest of the Fighting Urukhai tonight, and going to prime them plus my plastics tomorrow.
ReplyDeleteI've really got no excuse on the Fighting Urukhai as their paint scheme is so damn simple - black with blue highlights. I'm thinking I might get fancy and try a deep blue wash to keep the black from being too 'blah,' what do you think?